Wayback Machinekoobas.hobune.stream
May JUN Jul
Previous capture 12 Next capture
2021 2022 2023
1 capture
12 Jun 22 - 12 Jun 22
sparklines
Close Help
  • Products
  • Solutions
  • Made with Unity
  • Learning
  • Support & Services
  • Community
  • Asset Store
  • Get Unity

UNITY ACCOUNT

You need a Unity Account to shop in the Online and Asset Stores, participate in the Unity Community and manage your license portfolio. Login Create account
  • Blog
  • Forums
  • Answers
  • Evangelists
  • User Groups
  • Beta Program
  • Advisory Panel

Navigation

  • Home
  • Products
  • Solutions
  • Made with Unity
  • Learning
  • Support & Services
  • Community
    • Blog
    • Forums
    • Answers
    • Evangelists
    • User Groups
    • Beta Program
    • Advisory Panel

Unity account

You need a Unity Account to shop in the Online and Asset Stores, participate in the Unity Community and manage your license portfolio. Login Create account

Language

  • Chinese
  • Spanish
  • Japanese
  • Korean
  • Portuguese
  • Ask a question
  • Spaces
    • Default
    • Help Room
    • META
    • Moderators
    • Topics
    • Questions
    • Users
    • Badges
  • Home /
avatar image
0
Question by barker_s · Oct 17, 2015 at 09:10 PM · meshblenderseamsmodularseam

Modular level - seams between meshes

Hello everyone,

I've just started learning Blender. In my latest project I tried to create a set of modular tunnels that would allow me to quickly create a whole level from pre-made pieces. It all went smoothly until I actually started putting my prototype models into Unity. I have vertex-snapped them together, but after some playtesting I noticed that there are visible seams where the models meet.

Here they are connected together in Blender. Notice that they fit perfectly: alt text

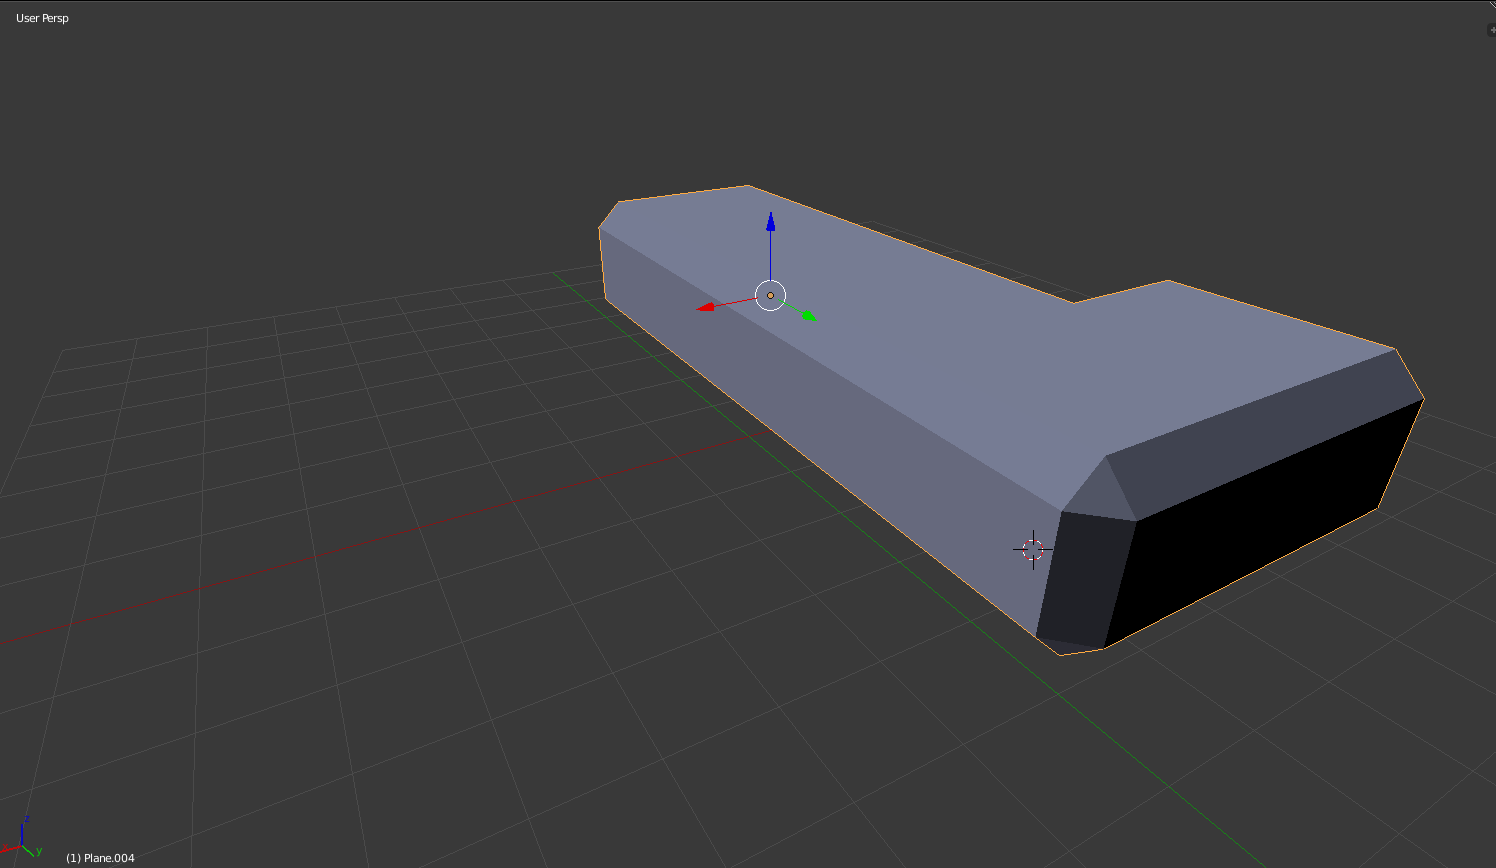
And here's a close-up of the part where they meet in Unity, with a seam visible: alt text

A video illustrating the problem: https://youtu.be/YcvqrUzJAHk

As you can see in the video, the seams only show up where the models of different type meet (there's no seam between two straight tunnels, but there's a seam between a straight tunnel and an L turn).

I tried researching it and fixing it on my own for a few days now, but to no avail. I've read that many people had similar issues, but the solutions varied wildly and none of them seem to work for me. From what I've read so far, the main culprit might be floating-point rounding errors causing inacurrate snapping. Could that be the case? And if so, is there a way to alleviate it, like using certain dimensions in Blender, or scaling?

If you have any idea how that could be fixed, please help.

unity.png (70.5 kB)
blender3.png (46.6 kB)
Comment
Add comment
10 |3000 characters needed characters left characters exceeded
▼
  • Viewable by all users
  • Viewable by moderators
  • Viewable by moderators and the original poster
  • Advanced visibility
Viewable by all users

2 Replies

· Add your reply
  • Sort: 
avatar image
0
Best Answer

Answer by barker_s · Oct 18, 2015 at 02:16 PM

Ok, I think I got it. I've remade my models starting from a plane situated at the origin point (coordinates 0,0,0) and I made sure that the base of my model is exactly 2 units by 2 units. Then I have created the rest of my modular blocks according to those rules (you might want to create a base model that you'll modify and save as a new model). After putting those into Unity there were still tiny amounts of white dots bleeding through the seams, but changing my camera background color to black made it unnoticeable (my current material is pretty dark, you might want to use brigter background color for brighter materials).

Here are some of my models: alt text


blender.png (21.8 kB)
Comment
Add comment · Share
10 |3000 characters needed characters left characters exceeded
▼
  • Viewable by all users
  • Viewable by moderators
  • Viewable by moderators and the original poster
  • Advanced visibility
Viewable by all users
avatar image
0

Answer by Bunny83 · Oct 18, 2015 at 02:05 AM

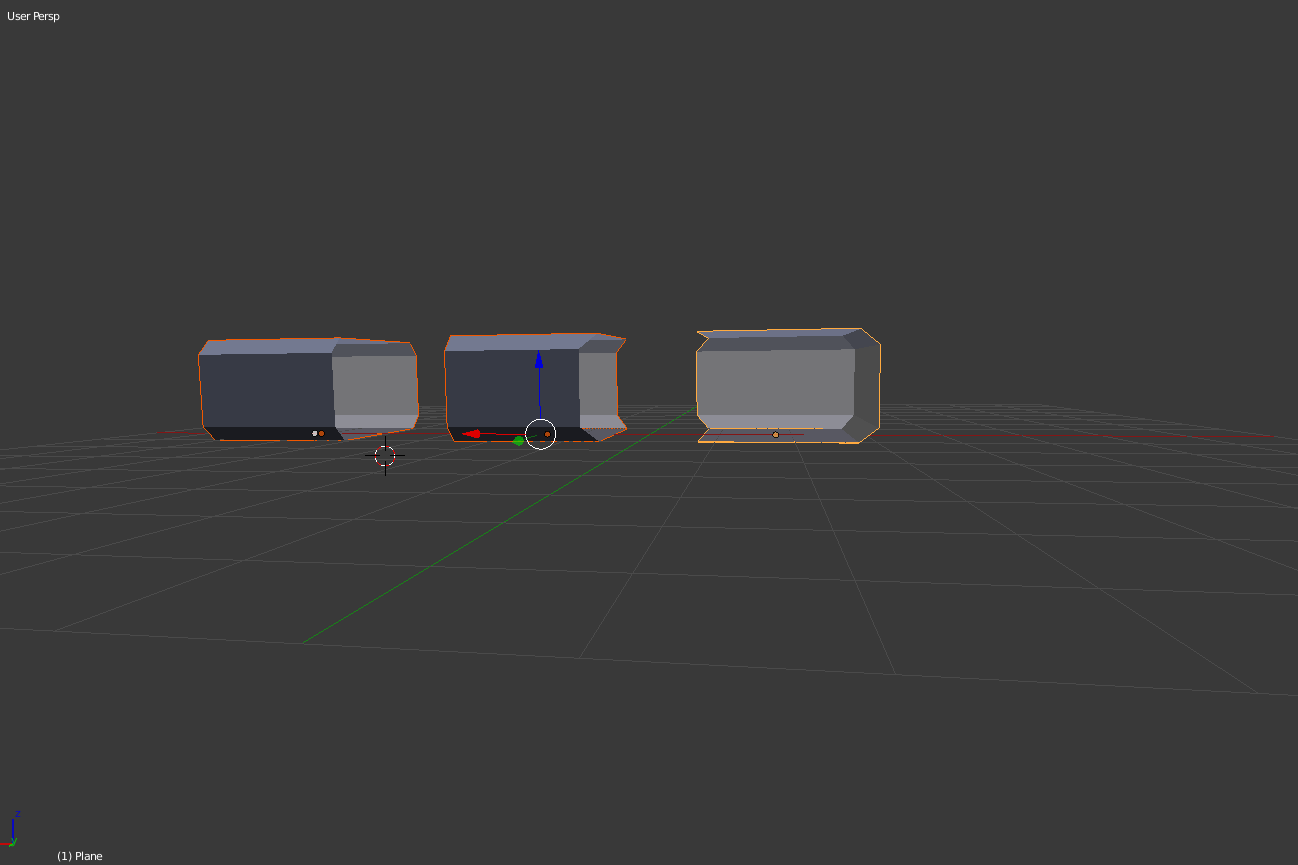
Well, the problem is your faces on the actual connecting side (the small strip that goes around your section). If you put two sections next to each other those faces will touch each other will cause z-fighting with the outer faces. The best solution is to remove those faces completely and if you need that section to be open, add another "module" that only includes the "end-cap" for the section.

Another way would be to "mark" which triangles belong to the connecting area and remove them at runtime via scripting. However this could cause several other problems. The simplest solution is to remove those faces completely.

Comment
Add comment · Show 2 · Share
10 |3000 characters needed characters left characters exceeded
▼
  • Viewable by all users
  • Viewable by moderators
  • Viewable by moderators and the original poster
  • Advanced visibility
Viewable by all users
avatar image Bunny83 · Oct 18, 2015 at 02:08 AM 0
Share

As bonus you actually save quite a bit triangles since those wouldn't be visible anyways.

avatar image barker_s · Oct 18, 2015 at 06:41 AM 0
Share

I'm afraid that's not it. $$anonymous$$y first models were simply created out of a plane, so they had no thickness and that's where the problem was most visible. Later on I used "solidify" modifier in Blender to give them some thickness, but that didn't help much. I also tried to apply your solution and removed those connectiong faces, but that didn't help either. Thank you for your answer anyway.

One clue that I feel is important to solving my problem is that the seams only show up where meshes of different type meet. Don't know why that's the case though.

Your answer

Hint: You can notify a user about this post by typing @username

Up to 2 attachments (including images) can be used with a maximum of 524.3 kB each and 1.0 MB total.

Follow this Question

Answers Answers and Comments

34 People are following this question.

avatar image avatar image avatar image avatar image avatar image avatar image avatar image avatar image avatar image avatar image avatar image avatar image avatar image avatar image avatar image avatar image avatar image avatar image avatar image avatar image avatar image avatar image avatar image avatar image avatar image avatar image avatar image avatar image avatar image avatar image avatar image avatar image avatar image avatar image

Related Questions

Instantiate an imported blender mesh 2 Answers

raycast not detecting my mesh from blender 1 Answer

How to import particle emitter mesh without inner edges? 0 Answers

How do I combine normals on procedural mesh with multiple tiles? 2 Answers

How to replace 3rd person mesh with my own? 0 Answers


Enterprise
Social Q&A

Social
Subscribe on YouTube social-youtube Follow on LinkedIn social-linkedin Follow on Twitter social-twitter Follow on Facebook social-facebook Follow on Instagram social-instagram

Footer

  • Purchase
    • Products
    • Subscription
    • Asset Store
    • Unity Gear
    • Resellers
  • Education
    • Students
    • Educators
    • Certification
    • Learn
    • Center of Excellence
  • Download
    • Unity
    • Beta Program
  • Unity Labs
    • Labs
    • Publications
  • Resources
    • Learn platform
    • Community
    • Documentation
    • Unity QA
    • FAQ
    • Services Status
    • Connect
  • About Unity
    • About Us
    • Blog
    • Events
    • Careers
    • Contact
    • Press
    • Partners
    • Affiliates
    • Security
Copyright © 2020 Unity Technologies
  • Legal
  • Privacy Policy
  • Cookies
  • Do Not Sell My Personal Information
  • Cookies Settings
"Unity", Unity logos, and other Unity trademarks are trademarks or registered trademarks of Unity Technologies or its affiliates in the U.S. and elsewhere (more info here). Other names or brands are trademarks of their respective owners.
  • Anonymous
  • Sign in
  • Create
  • Ask a question
  • Spaces
  • Default
  • Help Room
  • META
  • Moderators
  • Explore
  • Topics
  • Questions
  • Users
  • Badges