How can I make my 3DS model's mesh visible inside and out in Unity 3D?
Hello all,
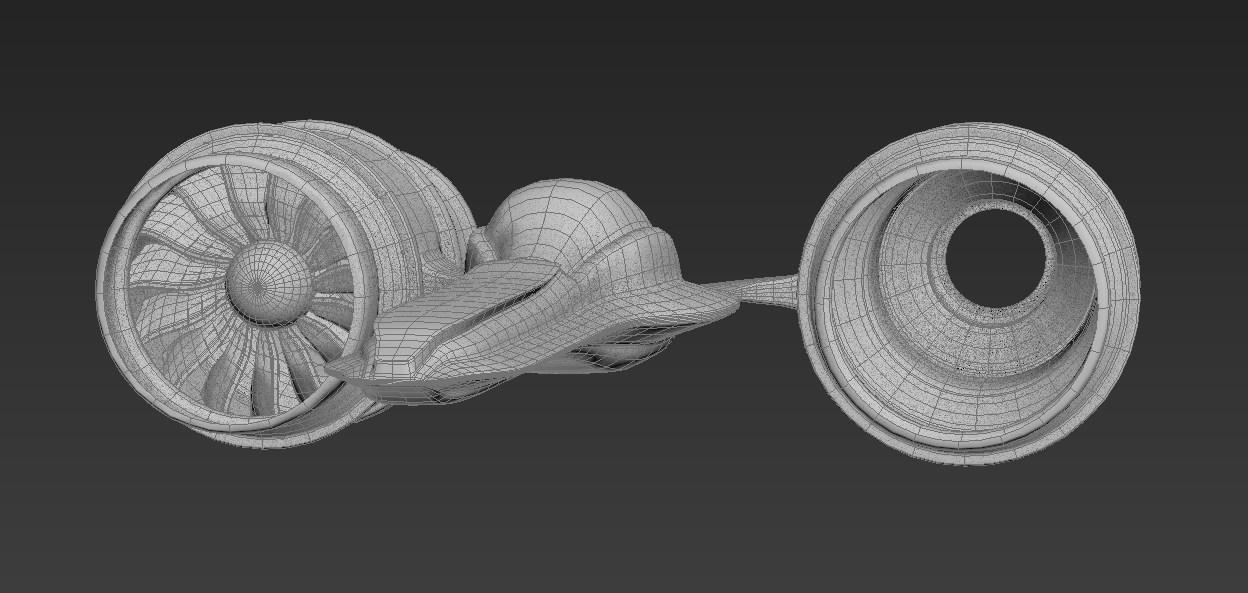
I found out how to render both side of my model in 3DS Max, but how am I supposed to have it render all the sides in Unity?
How it renders the sides in 3DS Max:
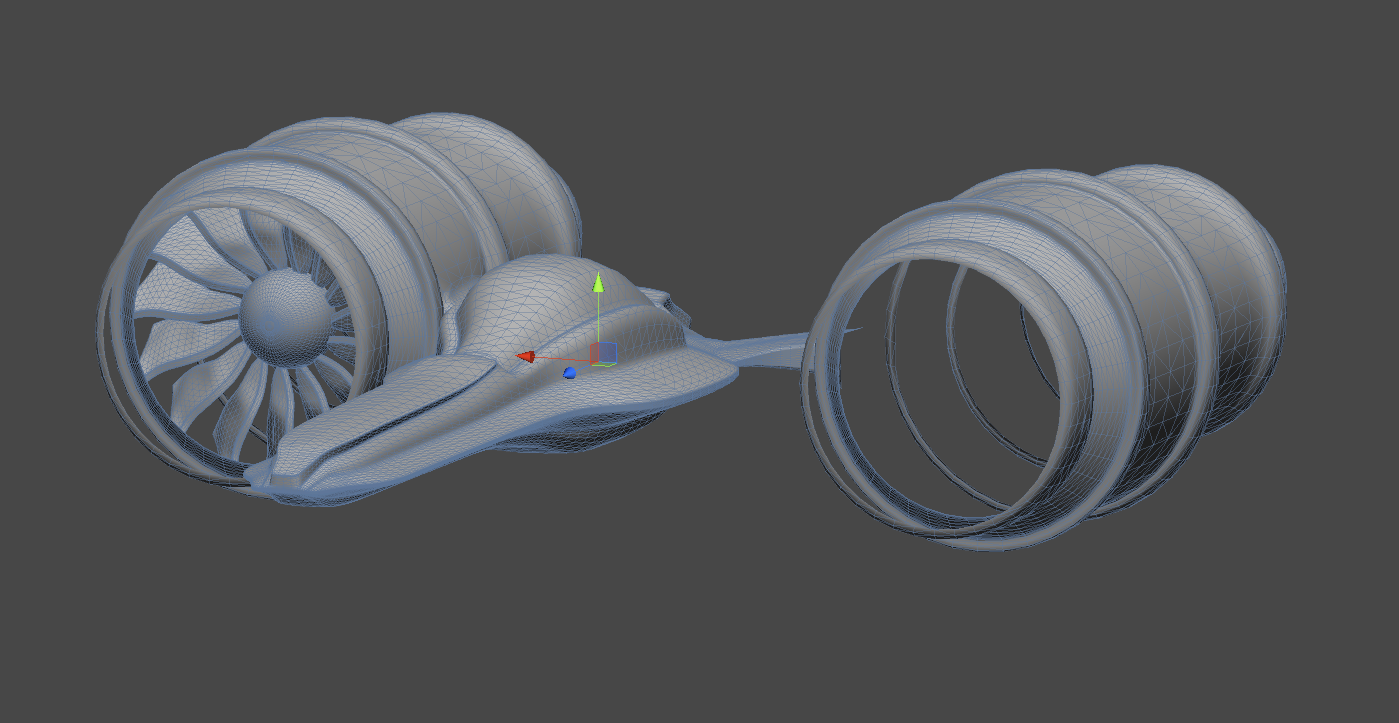
And here is how it renders in Unity:
Is there anyway to make the inside of my engine visible without having to duplicate all of the inside mesh, making it a little smaller (to hide it), flipping the normals of the duplicate, and then attaching it to the existing mesh?
You could duplicate the inside faces, and flip them to be facing inward, then they will render in Unity. OR you could have a look at This Thread, having to do with the double sided shaders.
Just to add in, duplicating faces may have better result with lighting, unless you can find a good shader that calculates lights and shadows correctly in all directions.
You're also making a mistake here - mesh isn't one-sided by definition. It's one-sided by convention, simply because in the majority of cases, only one side is needed, and in rendering terms, drawing two faces is a waste of computation time. You will find a lot of modelling programs do not use backface culling - it is only really used in video games because realtime rendering requires a lot of tricks to ensure it is as fast as can possibly be. It is not that mesh is one-sided by definition, it is that mesh IN UNITY is one-sided BY DEFAULT.
Except that's not it at all. $$anonymous$$esh ISN'T one sided in Unity! Unity is just told to IGNORE one side with most default shaders. It is possible, however, to tell it do otherwise. $$anonymous$$esh isn't one sided - it's just that most default shaders use backface culling to reduce draw costs. Saying "mesh is one sided in Unity" is like saying "objects are opaque in Unity" - most of the default shaders will render opaque objects, but there EXIST shaders to stop that from happening. The same is true of backface culling. The reason I'm arguing about this is that by saying "you've made a mistake, mesh is one-sided" is implying that there is no solution to this issue (which is a perfectly legitimate one - try using the Interactive Cloth with an enclosed mesh and tell me how you get on), which is just not true - there are a range of solutions, only one of which is to enclose the mesh.
Except that my response is both more helpful and more polite.
You're response is extremely helpful BUT
it's a case of "you omitted the elephant in the room"
Let me put it this way: your (excellent) answer is - let's say - confusingly missing one key sentence.
Your excellent answer should be prefaced by this paragraph:
"Oh, you may not have realised that as a rule in Unity and video games, mesh is one sided. Only one side is painted. This is an extremely common misunderstanding so don't worry about it. If you want to see the other side of something -- add more mesh. Conversely there are many ways to - in fact - paint the other side or automatically generate the other side. Here's the expert-level facts on that issue:"
So in fact, your (excellent on the face of it) answer is posing a considerable danger. 100.00% of hobbyist beginners get confused by the fact that in video games and Unity, mesh is one sided. ("It's nothing like in blender.") There's a danger that hobbyist beginners who come to this page will think "Holy cock, I have to start writing a shader to ..." which is - very simply - incredibly simply - utterly and totally wrong. It's just that: "if you want to see the 'other side of the paper' or 'inside a bucket' you have to model that."
{Furthermore, somewhat confusingly: in the literal example at hand, the spaceship thing. You would never, in a fit, start using two sided shaders. It's just an utter non-starter. It's simply a case where you need to see the inside of a cavity, just like the million ties in your career someone has said something like "oh, shit, we do need to see inside the other side of that sign" (some platonically flat object )."
{HENCE, PLEASE NOTE!!!!!!!!!!!!!!!!!!!!!!!!!!!!!!! - it is NOT EVEN A TWO SIDED ISSUE .. it's not a "piece of paper" issue: the engine-thing has thickness and bent structure throughout. In fact, to be perfectly clear - no offence - your answer is, simply, utterly - totally - completely-- fully - incorrect since it has no connection, in any way (unless my eyes decieve me, looking at the model) to drawing "both sides of a sheet of paper". The engine in question is thick, like a wall, and it simply needs more mesh for the inside. It's exactly like asking how to do the inside of a castle wall imagine a castle wall a meter thick. $$anonymous$$aking the outside surface of the brick double-sided, is totally irrelevant, you simply need another surface for the inside surface of the brick.}
{Again to be clear, it could be that I need new glasses and that engine-guts IS a "both sides of a piece of paper" problem. In which case, you'd just do it by making more mesh for the other side, like you always do in production when there's a "both sides of a piece of paper" problem. But I believe it is NOT EVEN a "both sides of a piece of paper" problem. It's nothing more than an everyday "new surface that's needed" - not unlike a thick castle wall, say.}
I have to believe we should stop talking about this now pal :-)
There are two ways to do this without duplicating faces.
This issue occurs because Unity uses "backface culling" to speed up rendering times. (More info on backface culling in Unity here: http://docs.unity3d.com/Documentation/Components/SL-CullAndDepth.html). Because this is a shader issue, both solutions require editing shaders.
The first solution is to create a shader which has culling turned off. This is very simple and just requires the line: Cull Off to be placed in the shader. This will work, but has issues with lighting. The back faces (the ones that are currently invisible) will have the same lighting and texture as the front faces. With this method, this cannot be avoided.
However, there is a second, more complex solution. You create a second material, and apply that to the object as well. While the first material has backface culling, your second will use a custom shader with frontface culling. This means it will draw exactly the opposite faces as the first one (i.e. all the faces that were culled by the normal shader). With this method, you can place a different texture on the inside face. Getting the lighting to work is a little more fiddly, and requires you to alter the vertex normals in the shader. I hope to release a collection of basic inverted shaders at some point using this method, to allow people to easily solve this problem.
EDIT: Shaders to do this can now be found on the asset store. Applying one normal material and one "inverted" material can allow both faces to be rendered with correct lighting, as well as different textures and normal/specular maps.
Note - looking at the model, it appears to be nothing at all to do with a typical "both sides of a piece of paper" problem. As far as I can tell the engine-wall has thickness and structure.
I suspect it's actually exactly the same problem, but with one $$anonymous$$or difference - the "front face" of the model in those areas is backwards. Reversing the triangle order for the unrendered faces should fix it.
Fair, you could be right. To me it looks like that engine wall has varying thickness. Assu$$anonymous$$g you are correct, FTR I would say that on most projects, most $$anonymous$$ms, the modeller would simply be asked to model that surface (the inside of the bucket as it were).
If @Hoeloe's assumption is right that you're trying to render backfaces, then ignore me. However if it's just that the faces in section of your model that represent the inside of the engine that are invisible, your issue might simply be that your normals are flipped in that area.
To check this in Blender (Sorry I don't know 3DS Max), look at the object with the “backface culling” option selected (found in the dropdown on the top right next to viewport settings). If you can see through faces, select the objects you can see through in the scene tree on the right. Then select all vertices of the part of the object that looks wrong in Edit mode and press ALT+N to bring up the normals menu, then select "flip".
