APKs or App Bundles are available to 64-bit devices but they only have 32-bit native code
I have exported an Android App Bundle file to upload at Play store with NDK downloaded from Unity desired location because Android Studio NDK file is not compatible with Unity.
I got this kind of error message when I upload the build: 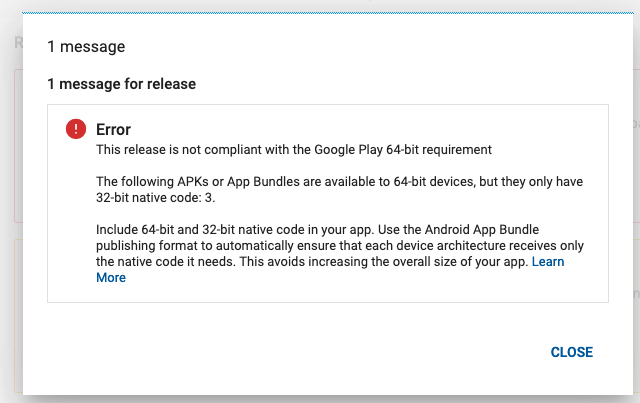
Here you have SDK and NDK path setup: 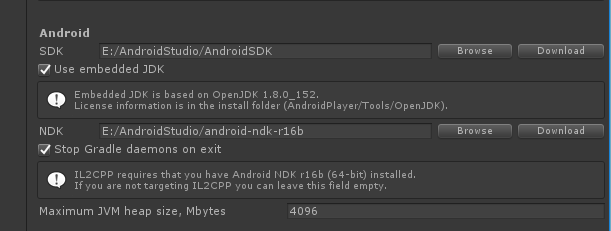
Now, what is the solution for this? What step I did wrong that I can't able to understand?
I got this kind of clear and simple reply from Unity Support Person on my Unity Forum post and this worked for me:
APKs or App Bundles are available to 64-bit devices but they only have 32-bit native code
Here is the snapshot for the reply: 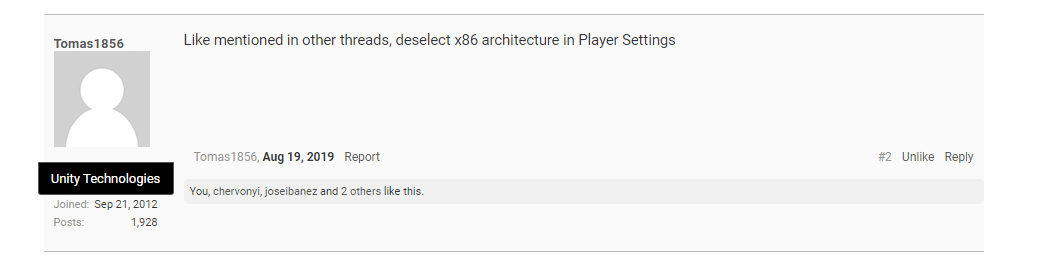
I hope now, this becomes easy to solve this problem.
I removed the library and package folders from my project and then rebuild it, and it got worked.

In Project-player Settings
Configuration Change scripted backend from Mono to IL2CPP
Then Enable ARM64
This has just started happening recently and can be fixed by disabling support for x86
x86 is used by less than 0.4% of all Android devices, so it shouldn't have any real impact.
You may probably already noticed but in 2019.2 x86 target is marked as deprecated, in 2019.3 it will be removed completely.
This may just be a temp hitch on googles end, but as the above states, It's getting deprecated in 2019.3 anyway.
Okay, Guys here is the solution to the problem. Open Unity Hub. Click on "Installs" and you'll see all the install versions of unity on your system. On Top Right of the, each Unity Version installed there are three vertical dots, click on them and choose "Add Modules". The Very First Option is "Android Build Support", expand it and choose "Unity SDK & NDK Tools". What it will do now, it will install the SDK and NDK which support the particular version of unity you are using. After completion of Downloading and installation. Open Unity Editor. Choose Unity > Preference> External Tools and browse for the SDK and NDK you just downloaded and installed. The location is as below, Navigate to the location where Unity is installed and choose Unity > Hub >Editor> Unity(Version, you installed NDK and SDK for) >Playback Engine > ANdroid Player > NDK/SDK. Tip: you need to install the SDK and NDK for the version you are building APK for. You are all set now.
If you are facing this error while uploading the game to play store then, Now what you have to do this to go into Player Setting> other settings > Target Architecture > Choose ARMv7 and ARMv64(this is necessary).
Build the APK and you are all set. Accept the answer if it solves your issue. Cheers.
Disable x86 architecture and enable ARM64. If it's not present, download it when you click build in the build settings. This will solve the problem and works fine.
Thank you @PepoRuiz
